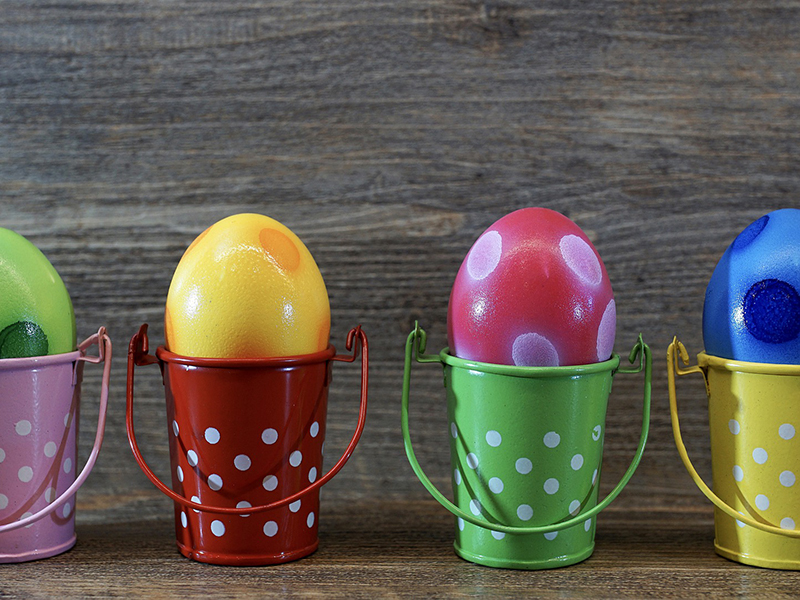

Painting eggs is an often forgotten Easter tradition. So long as you don’t mind cleaning up the paint afterwards
This tradition is proof that Easter doesn’t always have to be eating apocalyptic levels of chocolate, and that there’s plenty of things to do with the family that won’t end in sugar-fuelled kids vomiting all over the house.
Still, before you rush off and start dipping a free-range 6 pack into a bucket of paint, there’s a few things you should probably be aware of first. To avoid any disasters, have a look at our egg painting tutorial so you can get artistic this Easter.
Blow out the eggs first!
This is perhaps the most important point – and definitely one some poor parent has forgotten about in the past, and been left explaining to the kids why their artistic masterpieces are starting to stink out the entire house.
“Blown out” eggs are eggs with the egg white and yolk removed, leaving just the hollow shell. Through this method, your eggs can be kept for years without spoiling. Doing this without breaking the eggshell itself is trickier than you’d think, so pay attention.
First, using a pin, make two small holes in a raw egg – first on the tip of the egg, then at the base. If you’re worried about the egg cracking during this, put some tape over where you’re making the hole for a bit of safety.
Once done, the holes will need to be made bigger. You can do this with the same pin, or if you have them, use two large nails, one 2mm thick and the other 4mm thick. Either way, make sure the bottom hole is larger than the top, as this is where the yolk will be coming out.
Now, poke through the larger hole with a long, thin tool – a toothpick, or a straightened out paperclip. Slide it in and out so that you pierce the yolk and the membranes that keep it held together.
Hold the egg over a bowl, and using a straw placed against the top hole, gently blow until all the yolk has emptied out of the egg.
Once done, pour a glass of water over the eggshell to rinse out any leftover egg yolk clinging to the sides. You may need to gently shake the egg a little to get it all cleared out.
Finally, to dry out the eggshell, place it in a microwave on high for 15 to 30 seconds. Not only will this dry the egg, it will also make the shell stronger.
Getting ready to paint
Use a long stick, such as a bamboo skewer so that you can paint the entire shell. Tie elastic bands around each side of the stick to keep the shell from sliding off as you do this.
Using soft, downwards strokes, cover the entire shell with an acrylic paint for the base coat. Make sure to mix the paint with a little water so that it’s smooth and easy to apply. Covering the entire egg with paint without making a mess can be a delicate job, so make sure to do this yourself before getting the kids involved.
To dry, leave the eggs held up on the skewers in an egg box.
The fun begins!
Now if you’re really worried about mess, you can have the kids paint the eggs while in an egg cup. This will help them to draw straight lines around the egg and will hopefully limit the extent to which they completely repaint the house. No promises, though.
If however you’re not a total killjoy, you can let the kids loose with just a few newspapers laid out to protect your kitchen surfaces.
Once you’re finished you’ll have some wonderful Easter art to show off for the whole holiday! Or until they inevitably fall and break on the floor, anyway. At least you tried.