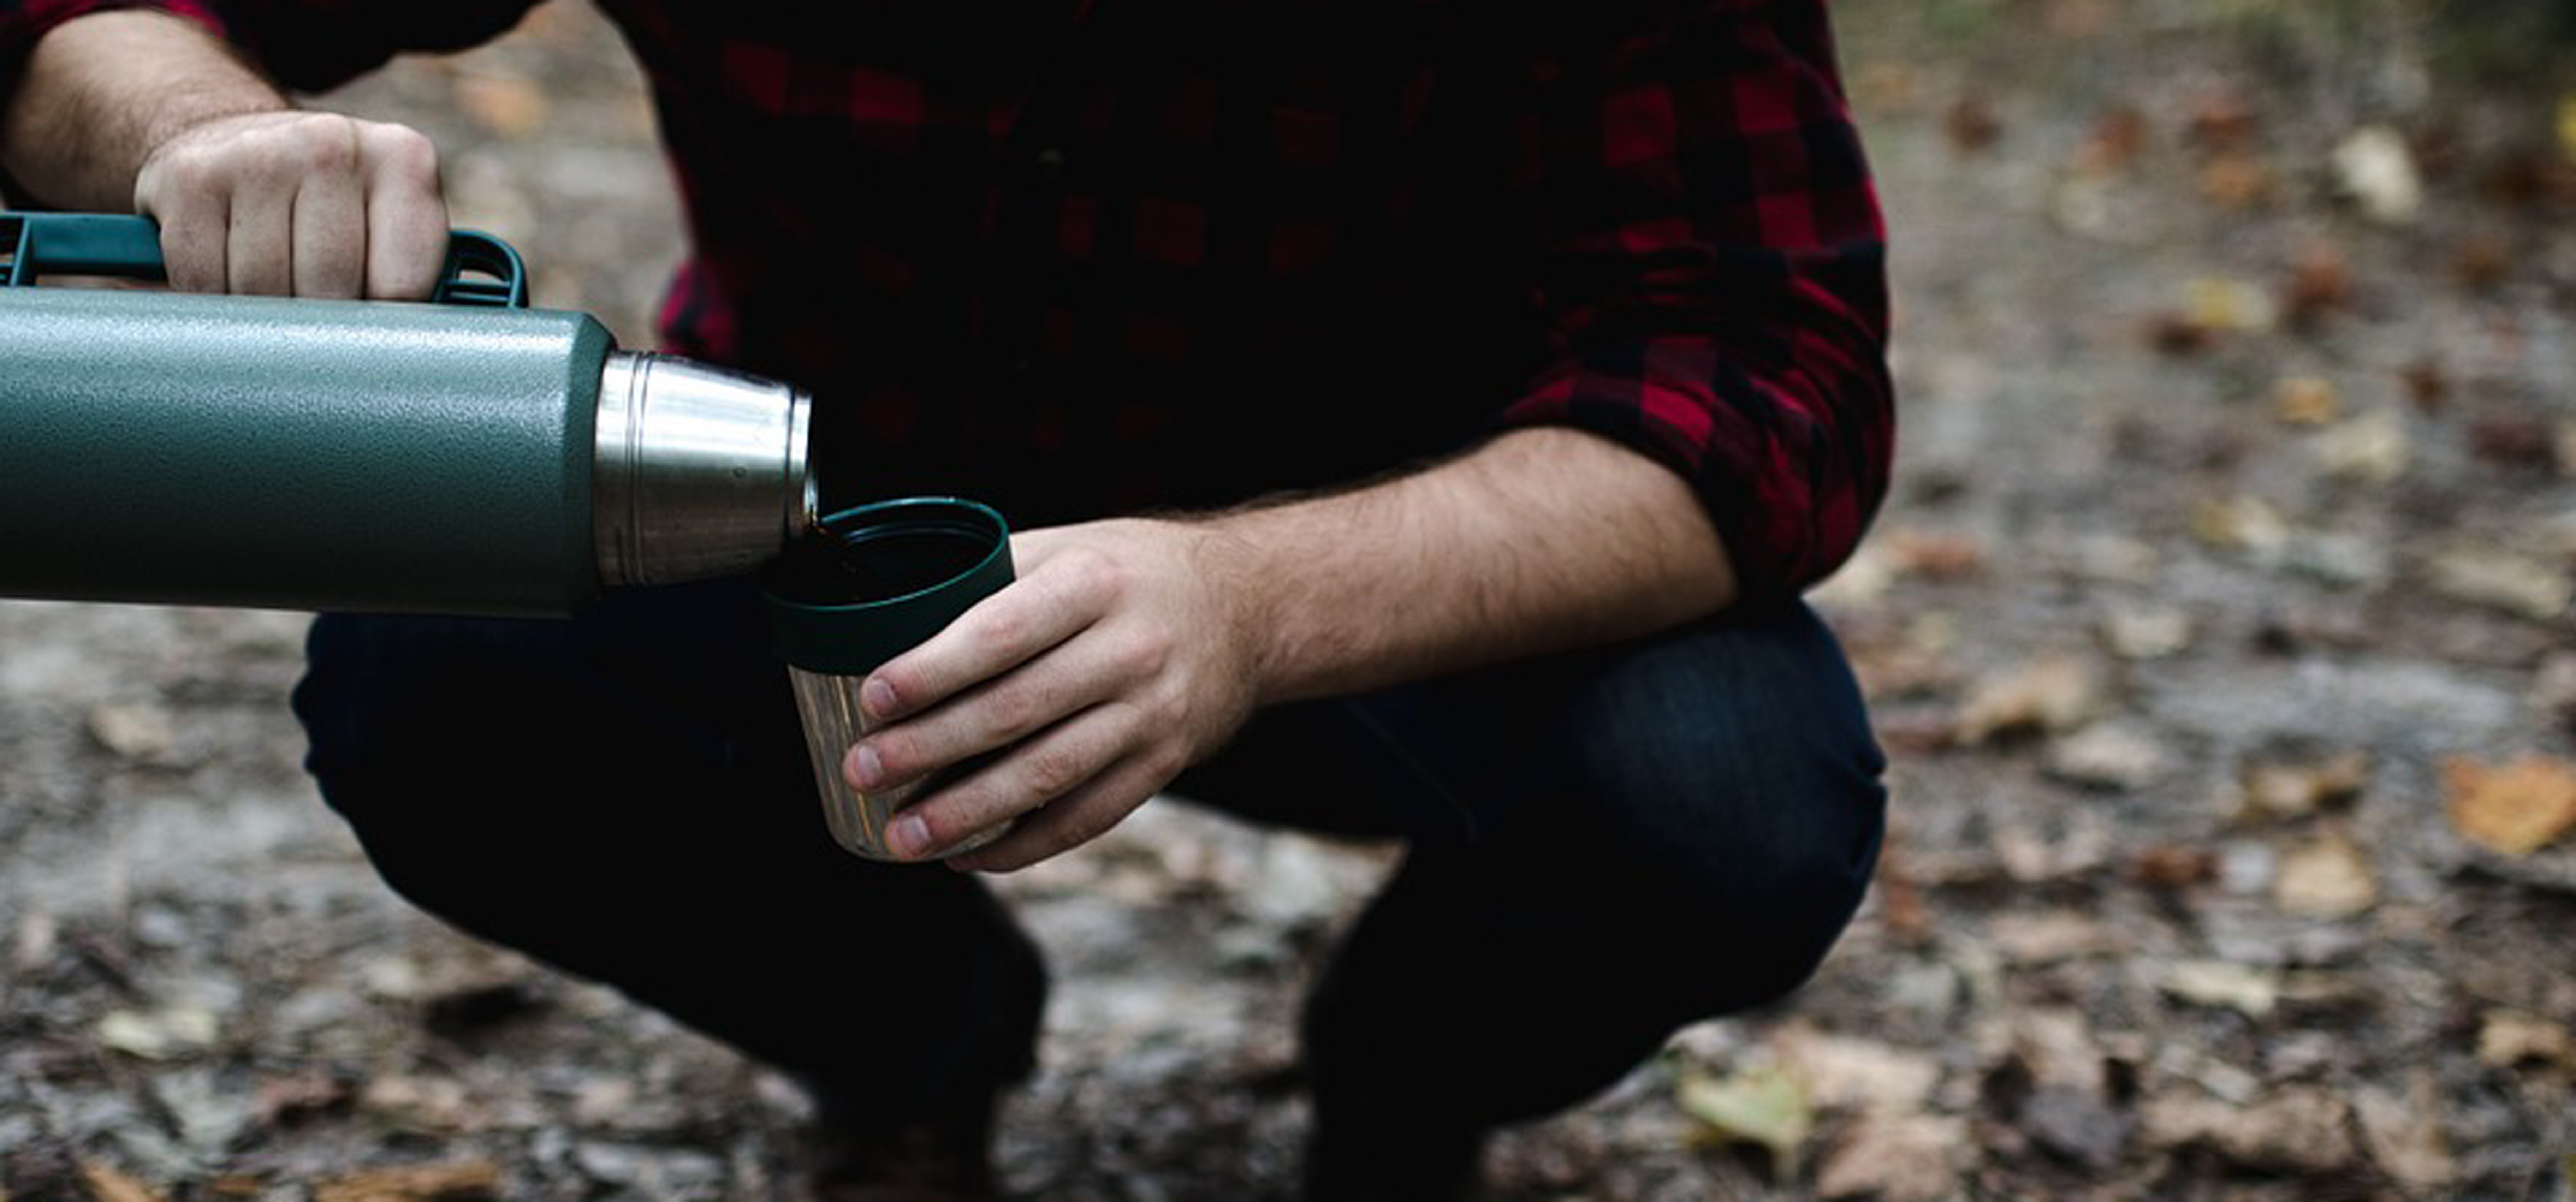
There are more uses for the humble thermos than keeping your tea warm
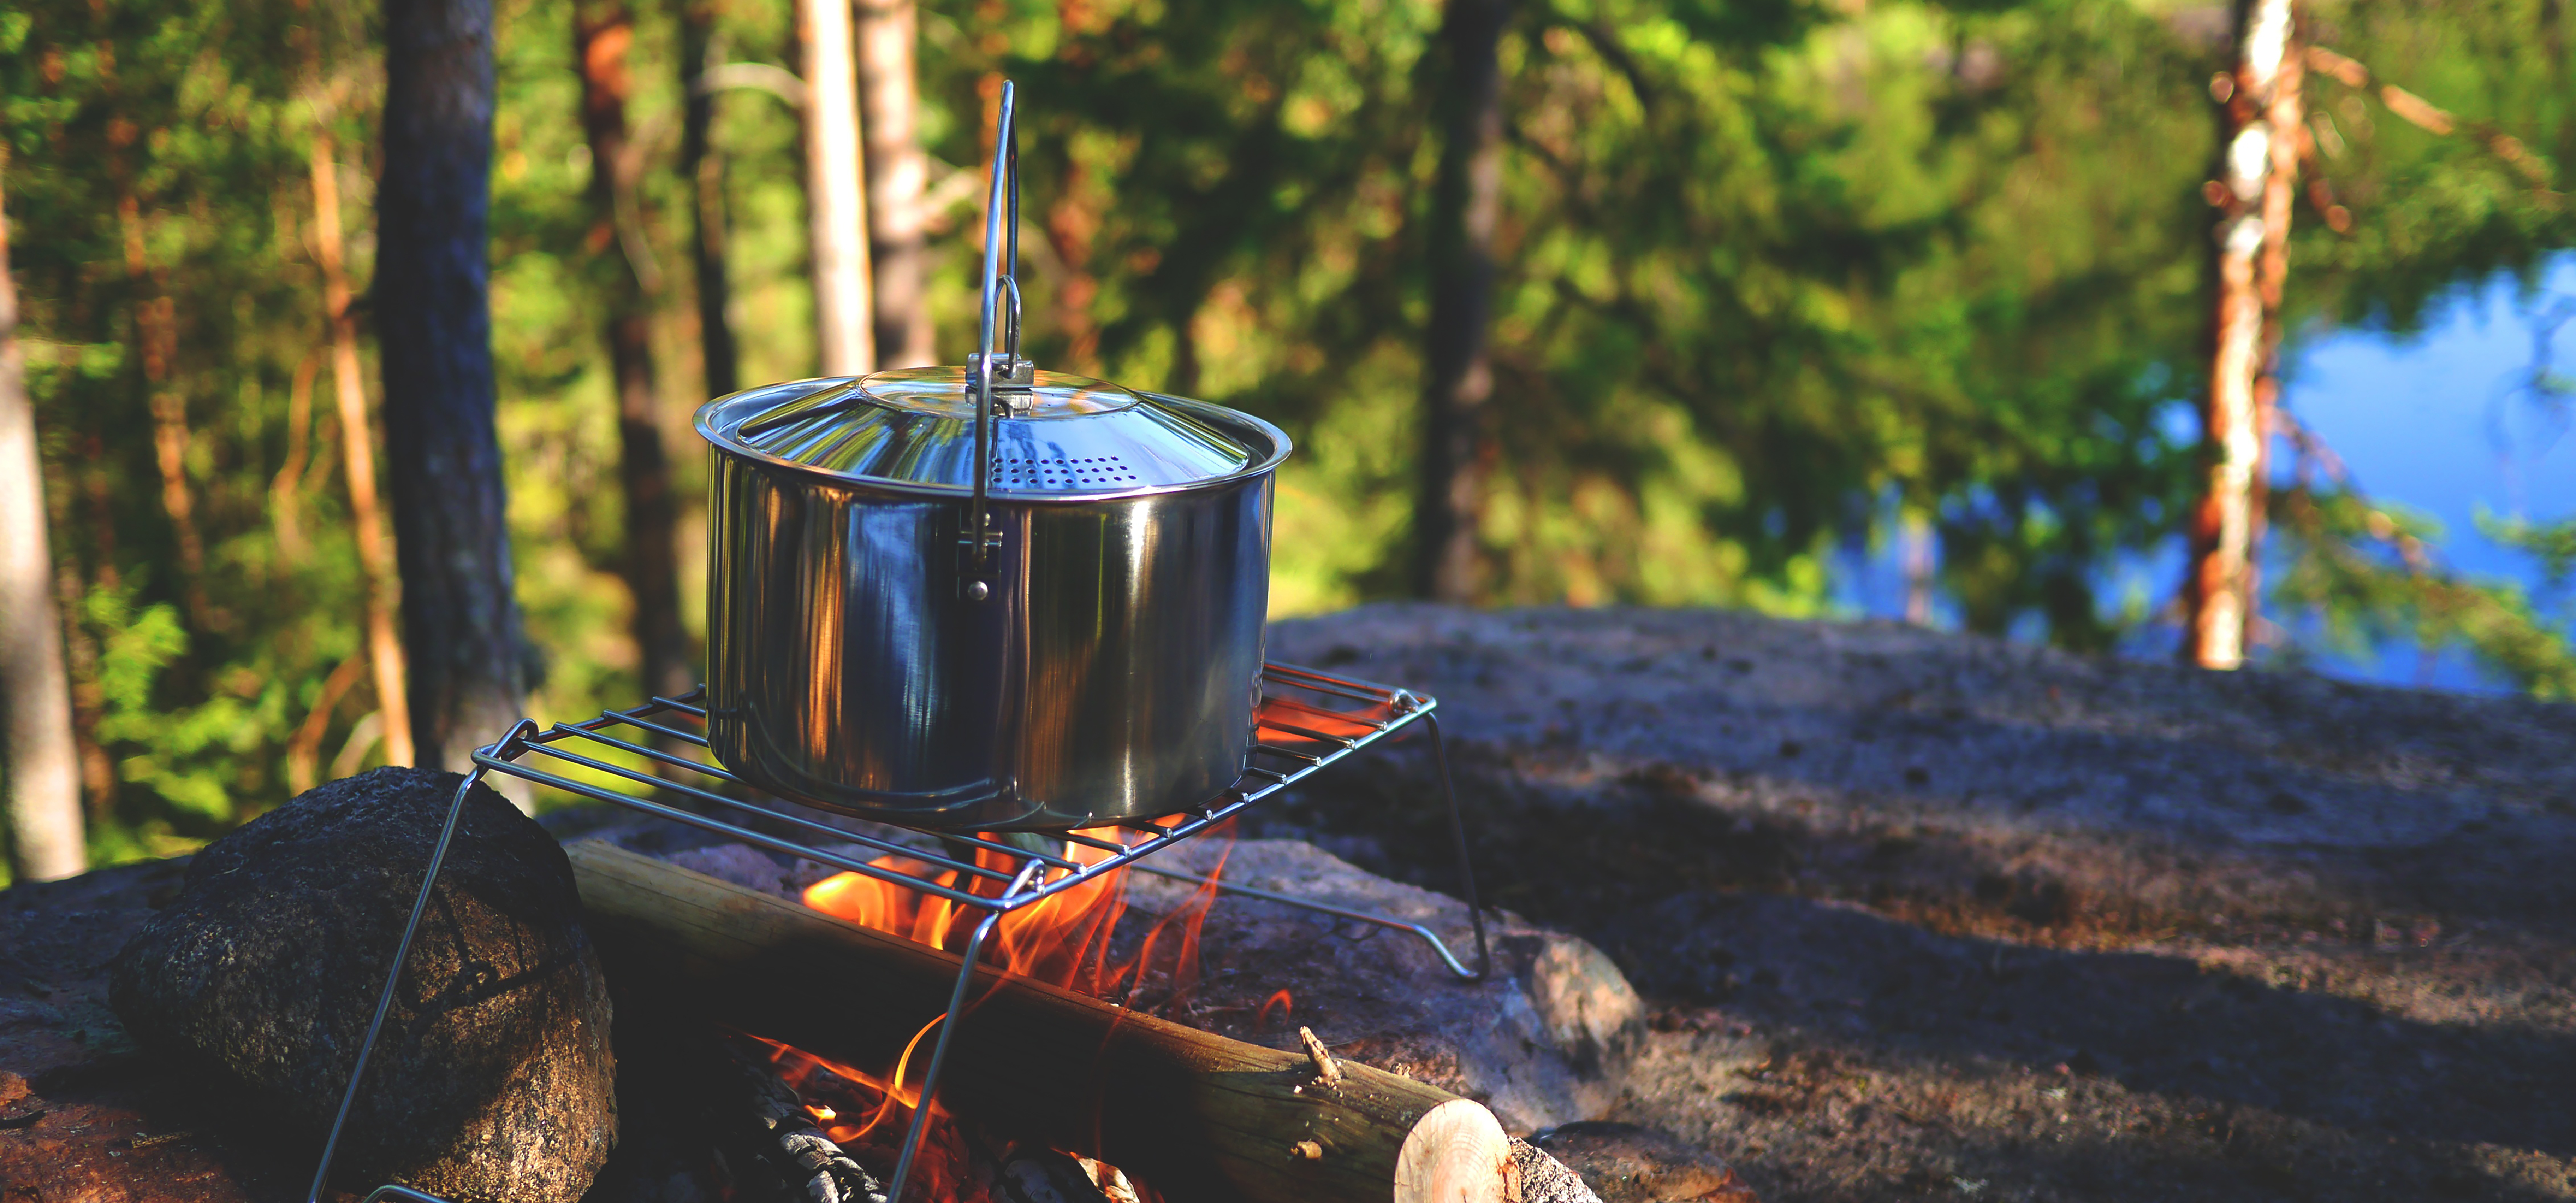
Thermos cooking is a brilliant idea for those living the van life. This unique, albeit slightly odd, way of cooking saves propane, stops your van getting boiling hot and means that you don’t have to waste time watching your dinner cook.
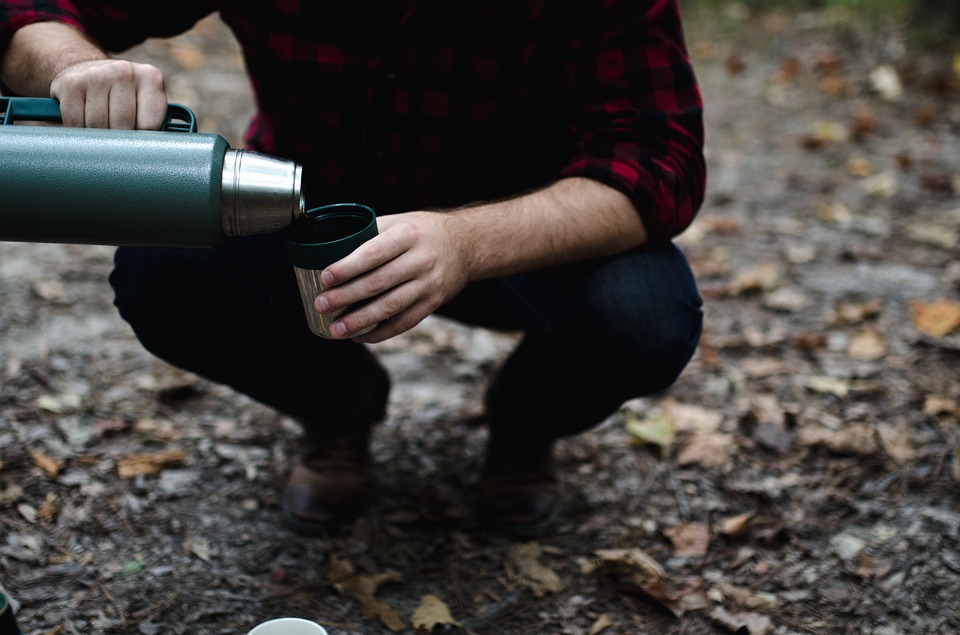
It is also a great way to make warming food on the go. You can take a flask, cooking as you go, on the road in your van or walking up a mountain, essentially anywhere you can carry it.
The key to thermos cooking is having a good thermos. Quality is a must. However there are also some practical issues you should consider when choosing a thermos with which to cook. Using a flask which is the right size for the amount of food you want to make is important and one with a wide neck is best as you need to be able to get the food out when it’s done!
The process of cooking is relatively simple. As we all know, a decent thermos will keep hot liquids warm for at least 6 hours. However cooking in one is not just about dumping ingredients in water and waiting.
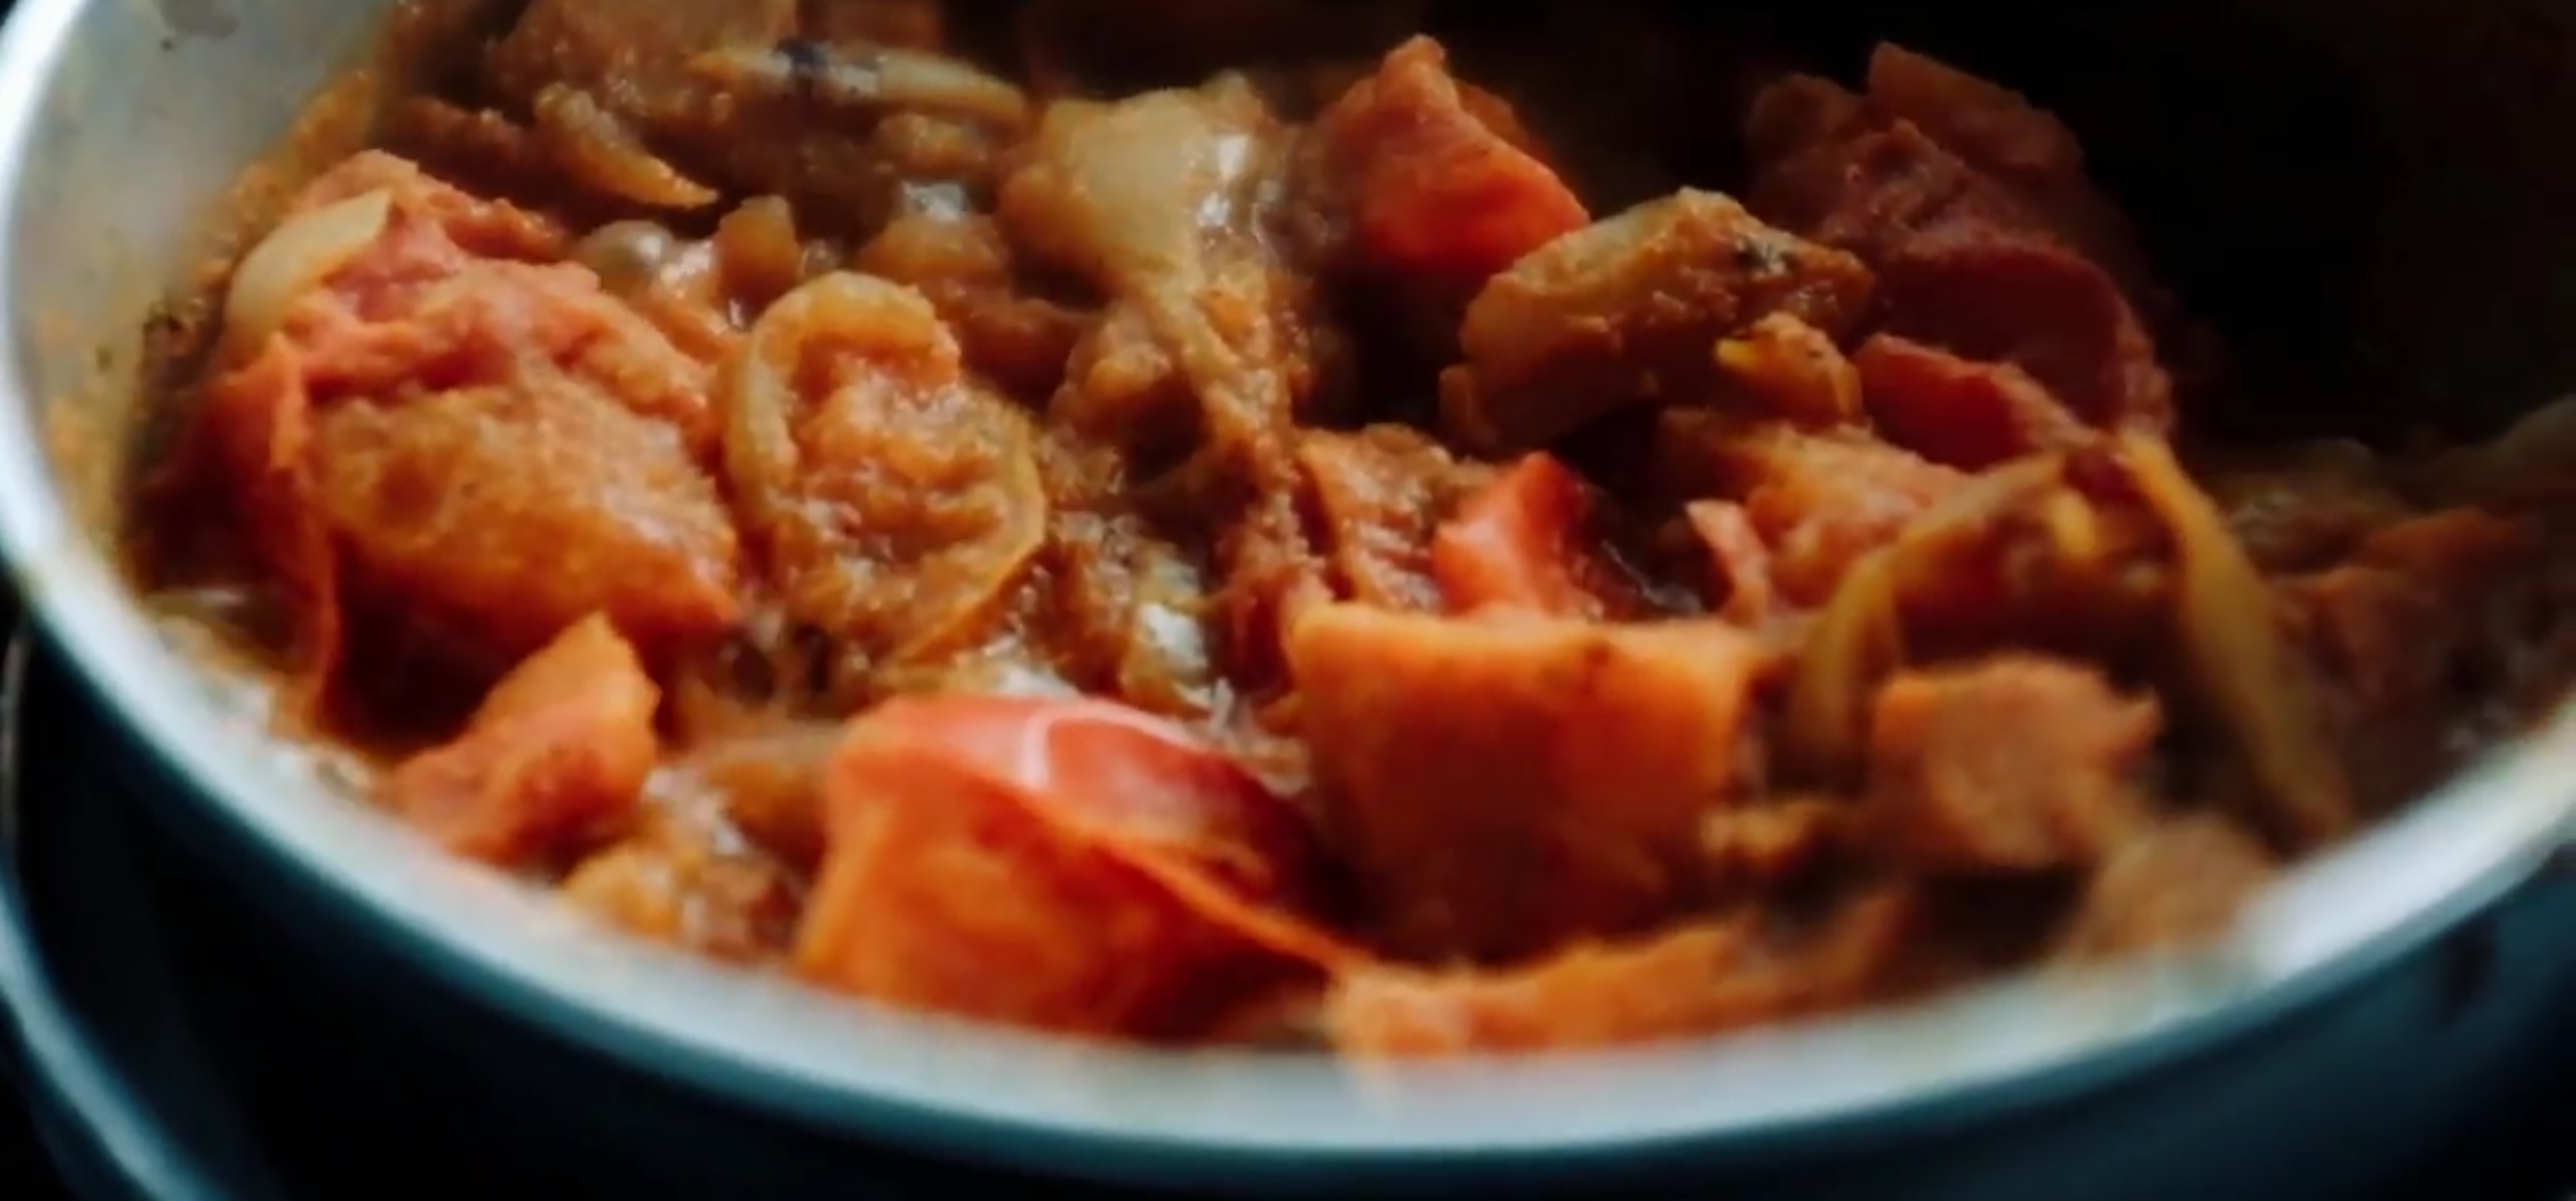
It’s a great solution for getting filling, warm food on the go
Pre-heating the inside of the bottle is a necessary first step. Boil water and fill the thermos, screw the lid shut, and leave it for about 10 minutes. Only pour this water out right before you are ready to add your ingredients or else the heat will be wasted. Then it is a case of filling the flask up with your chosen dish, making sure it is sealed tight, and waiting until everything is cooked.
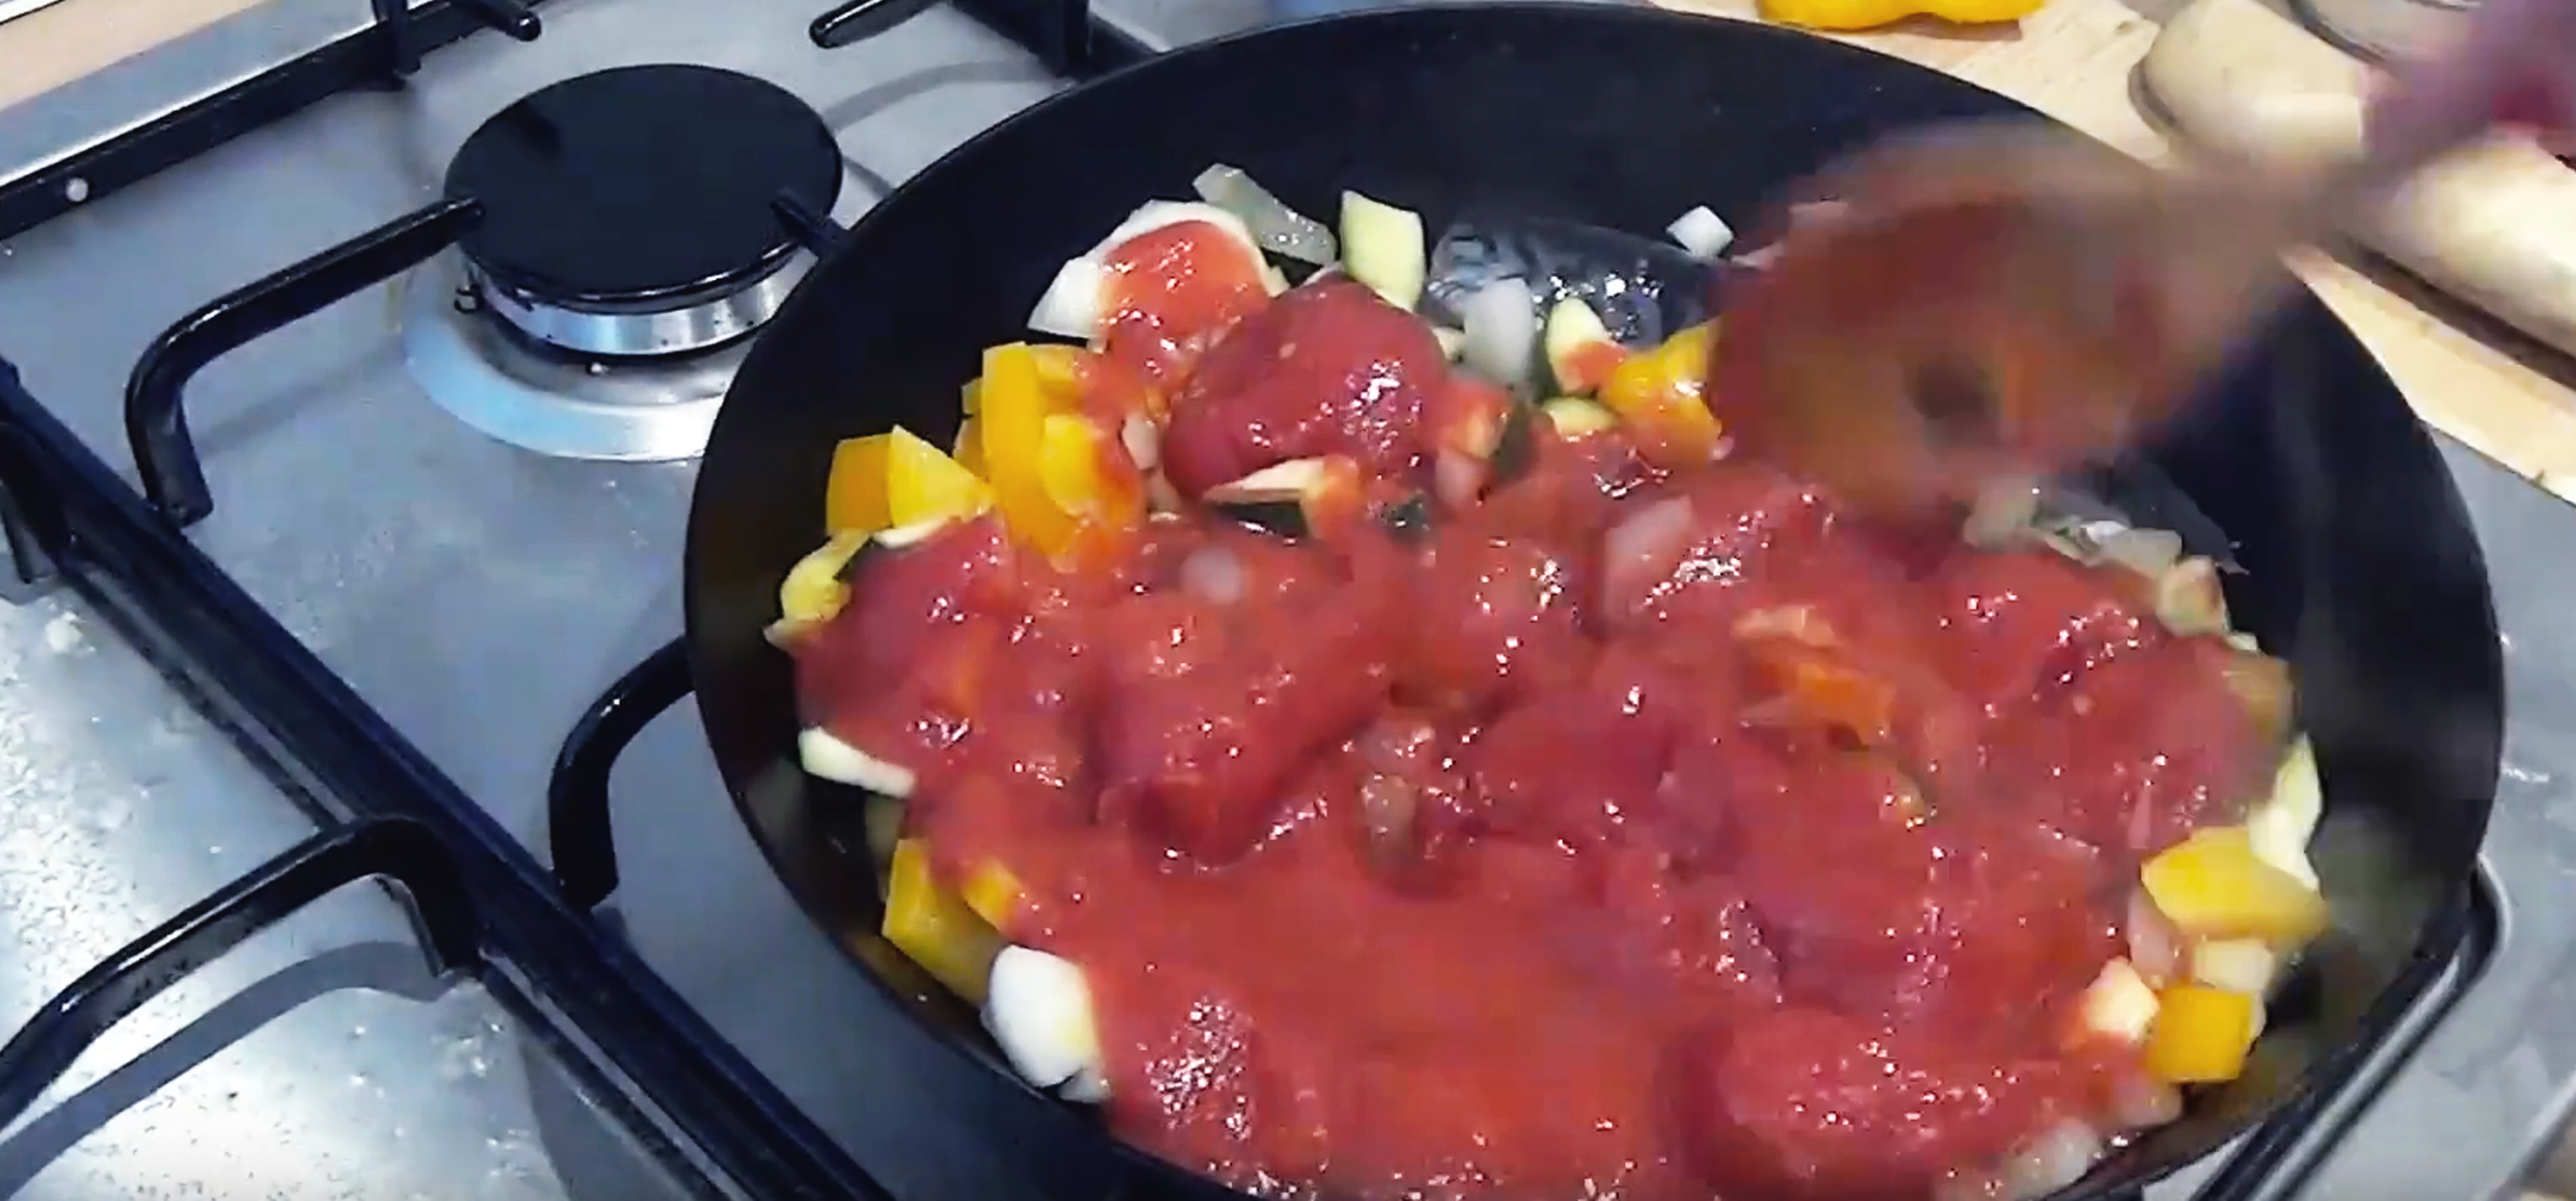
However, not all food can go straight in raw. The biggest mistake people seem to make with thermos cooking is presuming that no pre-cooking is required. This is simply not true. If you just dump raw ingredients and hot water inside a thermos, you will end up with raw ingredients in warm water.
To be cooked successfully most food needs to have started cooking before going into the thermos. The simplest way to think about it is that you have to start cooking your food normally and then, at the point when you would turn it down to simmer, put it in the thermos.
It is not for everyone but it is certainly a saver of time and energy. The easiest things to make in this way are simple dishes like porridge or soups. Below are a few simple recipes to get you started.
Classic Porridge (Serves 2)
- Preheat your thermos with boiling water
- Add 1 cup of oats and top up with 4 cups of boiling water
- Give it a bit of a stir
- Seal tight and leave for around 10 minutes
- Serve with your favourite toppings
Simple Chicken Soup (Serves 2)
- Preheat your thermos with boiling water
- Fry off a chicken breast, cut into bite size pieces
- Add one onion, 2 cloves of garlic and a sprinkle of mixed herbs. Fry until the onions are cooked
- Tip this into your thermos. Add a handful of shredded cabbage and 2 carrots, diced into small cubes
- Top up your thermos with boiling vegetable stock
- Seal tightly and leaves for at least 15 minutes to cook through
For more ideas on what to cook in your flask, head over to The Kitchn, Thermos Cooking or The Deliberate Agrarian.